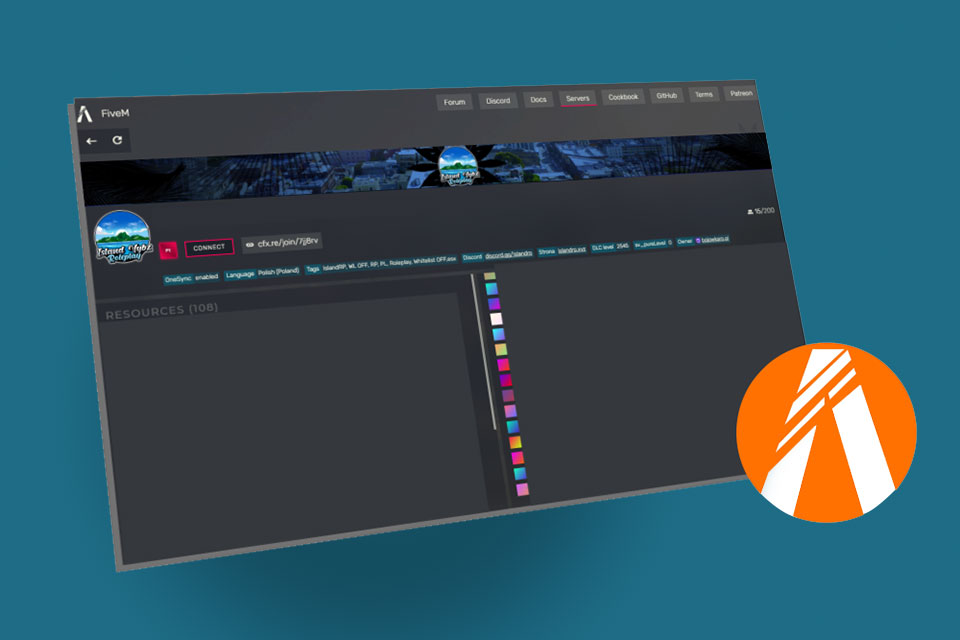
FiveM is a mod for Grand Theft Auto V that allows players to create and join custom servers. Your server banner is the image that is displayed when players search for servers to join in-game. If you want to customize your server by adding a custom banner to it, here’s how:
Prepare your image
Before changing your server banner, you must first prepare the image you want to use. It is important to note that the banner must be in PNG or GIF format and not exceed the dimensions of 590×300 pixels. It is also advisable to create the image with a transparent background to avoid background issues when displaying the banner.
Upload the image to your server
Once you have prepared your image, you need to upload it to your server. You can do this by using an FTP (File Transfer Protocol) client to connect to the server and upload the file. Make sure to upload the file to the “server-data” directory of your FiveM server.
Modify the configuration file
After uploading your image to the server, you now need to configure it to display as a banner. To do this, you must edit the “server.cfg” file in the “server-data” directory of your FiveM server. Add the following line at the end of the file: “sv_logo “name_of_your_image.png”” (replace “name_of_your_image.png” with the name of your downloaded image file)
Restart the server
Once you have modified the configuration file, you must restart your FiveM server for the changes to take effect. You should now see your new banner appear when players search for servers to join in-game.
In summary, changing your FiveM server banner is a simple process that only takes a few minutes. All you need to do is prepare an image in PNG or GIF format, upload it to your server, configure it in the configuration file, and restart your server for the changes to take effect.


